A Canvas in the Making: Essential Steps to Prep Your Walls Before Painting
Embarking on a painting project can be an exciting endeavor that transforms your living space into a fresh and vibrant haven. However, before you pick up that paintbrush, it's crucial to ensure that your walls are properly prepped to achieve a flawless finish. In this guide, we'll explore the essential steps to prepare your walls before painting, ensuring a smooth and professional-looking result.
**1. Clear the Room:**
Begin by clearing the room of furniture, wall decor, and any items that may obstruct your painting progress. This provides you with ample space to work and reduces the risk of accidental splatters or damage to your belongings.
**2. Repair Wall Imperfections:**
Inspect your walls for any imperfections such as cracks, holes, or dents. Patch these areas with spackle or joint compound, allowing them to dry completely. Sand the patched areas to create a smooth and even surface. This step is crucial for achieving a flawless paint application.
**3. Clean the Walls:**
Dust, dirt, and grime can accumulate on walls over time, affecting paint adhesion. Use a mild detergent solution and a sponge or cloth to clean the walls thoroughly. Pay attention to areas near light switches, corners, and baseboards. Allow the walls to dry completely before proceeding.
**4. Remove Wall Coverings:**
If your walls are adorned with wallpaper or outdated wall coverings, it's time to bid them farewell. Use a wallpaper scraper or a mixture of water and vinegar to loosen the adhesive. Peel away the coverings, and then clean the walls to remove any remaining residue.
**5. Sand Surfaces for Smoothness:**
Sanding the walls helps create a smooth and even surface for paint application. Use fine-grit sandpaper to lightly sand the walls, paying special attention to areas with patches or repairs. This step promotes paint adhesion and ensures a professional finish.
**6. Protect Trim and Baseboards:**
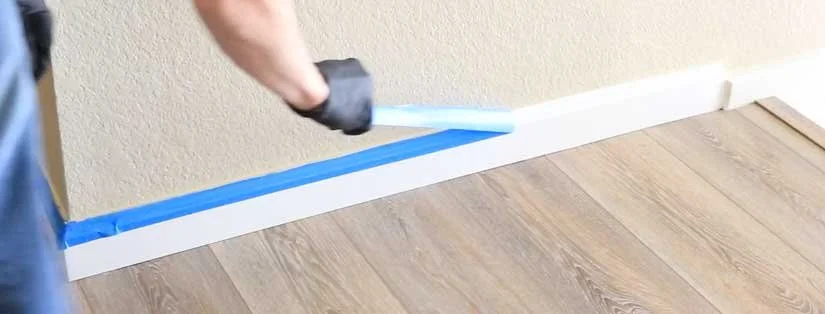
Before diving into painting, take the time to protect trim, baseboards, and other surfaces that you don't want to paint. Use painter's tape to create clean and precise lines. This step not only safeguards your trim but also streamlines the painting process.
**7. Fill Gaps and Caulk Gaps:**
Inspect the seams where walls meet ceilings and corners for any gaps or cracks. Fill these gaps with paintable caulk to create a seamless and polished appearance. Caulking is particularly important for achieving a professional finish, especially in well-lit areas where imperfections are more noticeable.
**8. Prime the Walls:**
Priming is a crucial step that enhances paint adhesion and promotes an even finish. Choose a high-quality primer suitable for your wall surface. Apply the primer evenly, covering the entire wall. Allow it to dry completely before moving on to the painting phase.
**9. Test Paint Samples:**
Before committing to a full paint job, test paint samples on a small section of the wall. This allows you to assess how the chosen color appears in your specific lighting conditions and ensures that you are satisfied with the result before proceeding with the entire room.
**10. Gather High-Quality Painting Supplies:**
Invest in high-quality painting supplies, including brushes, rollers, and painter's tape. Quality tools contribute to a smoother application and better overall results. Ensure that you have all necessary supplies within reach before starting the painting process.
By following these essential steps to prep your walls before painting, you set the foundation for a successful and aesthetically pleasing outcome. Proper preparation not only enhances the longevity of your paint job but also ensures that your living space undergoes a stunning transformation. So, roll up those sleeves, prep your walls meticulously, and let the painting adventure begin! Happy painting!


