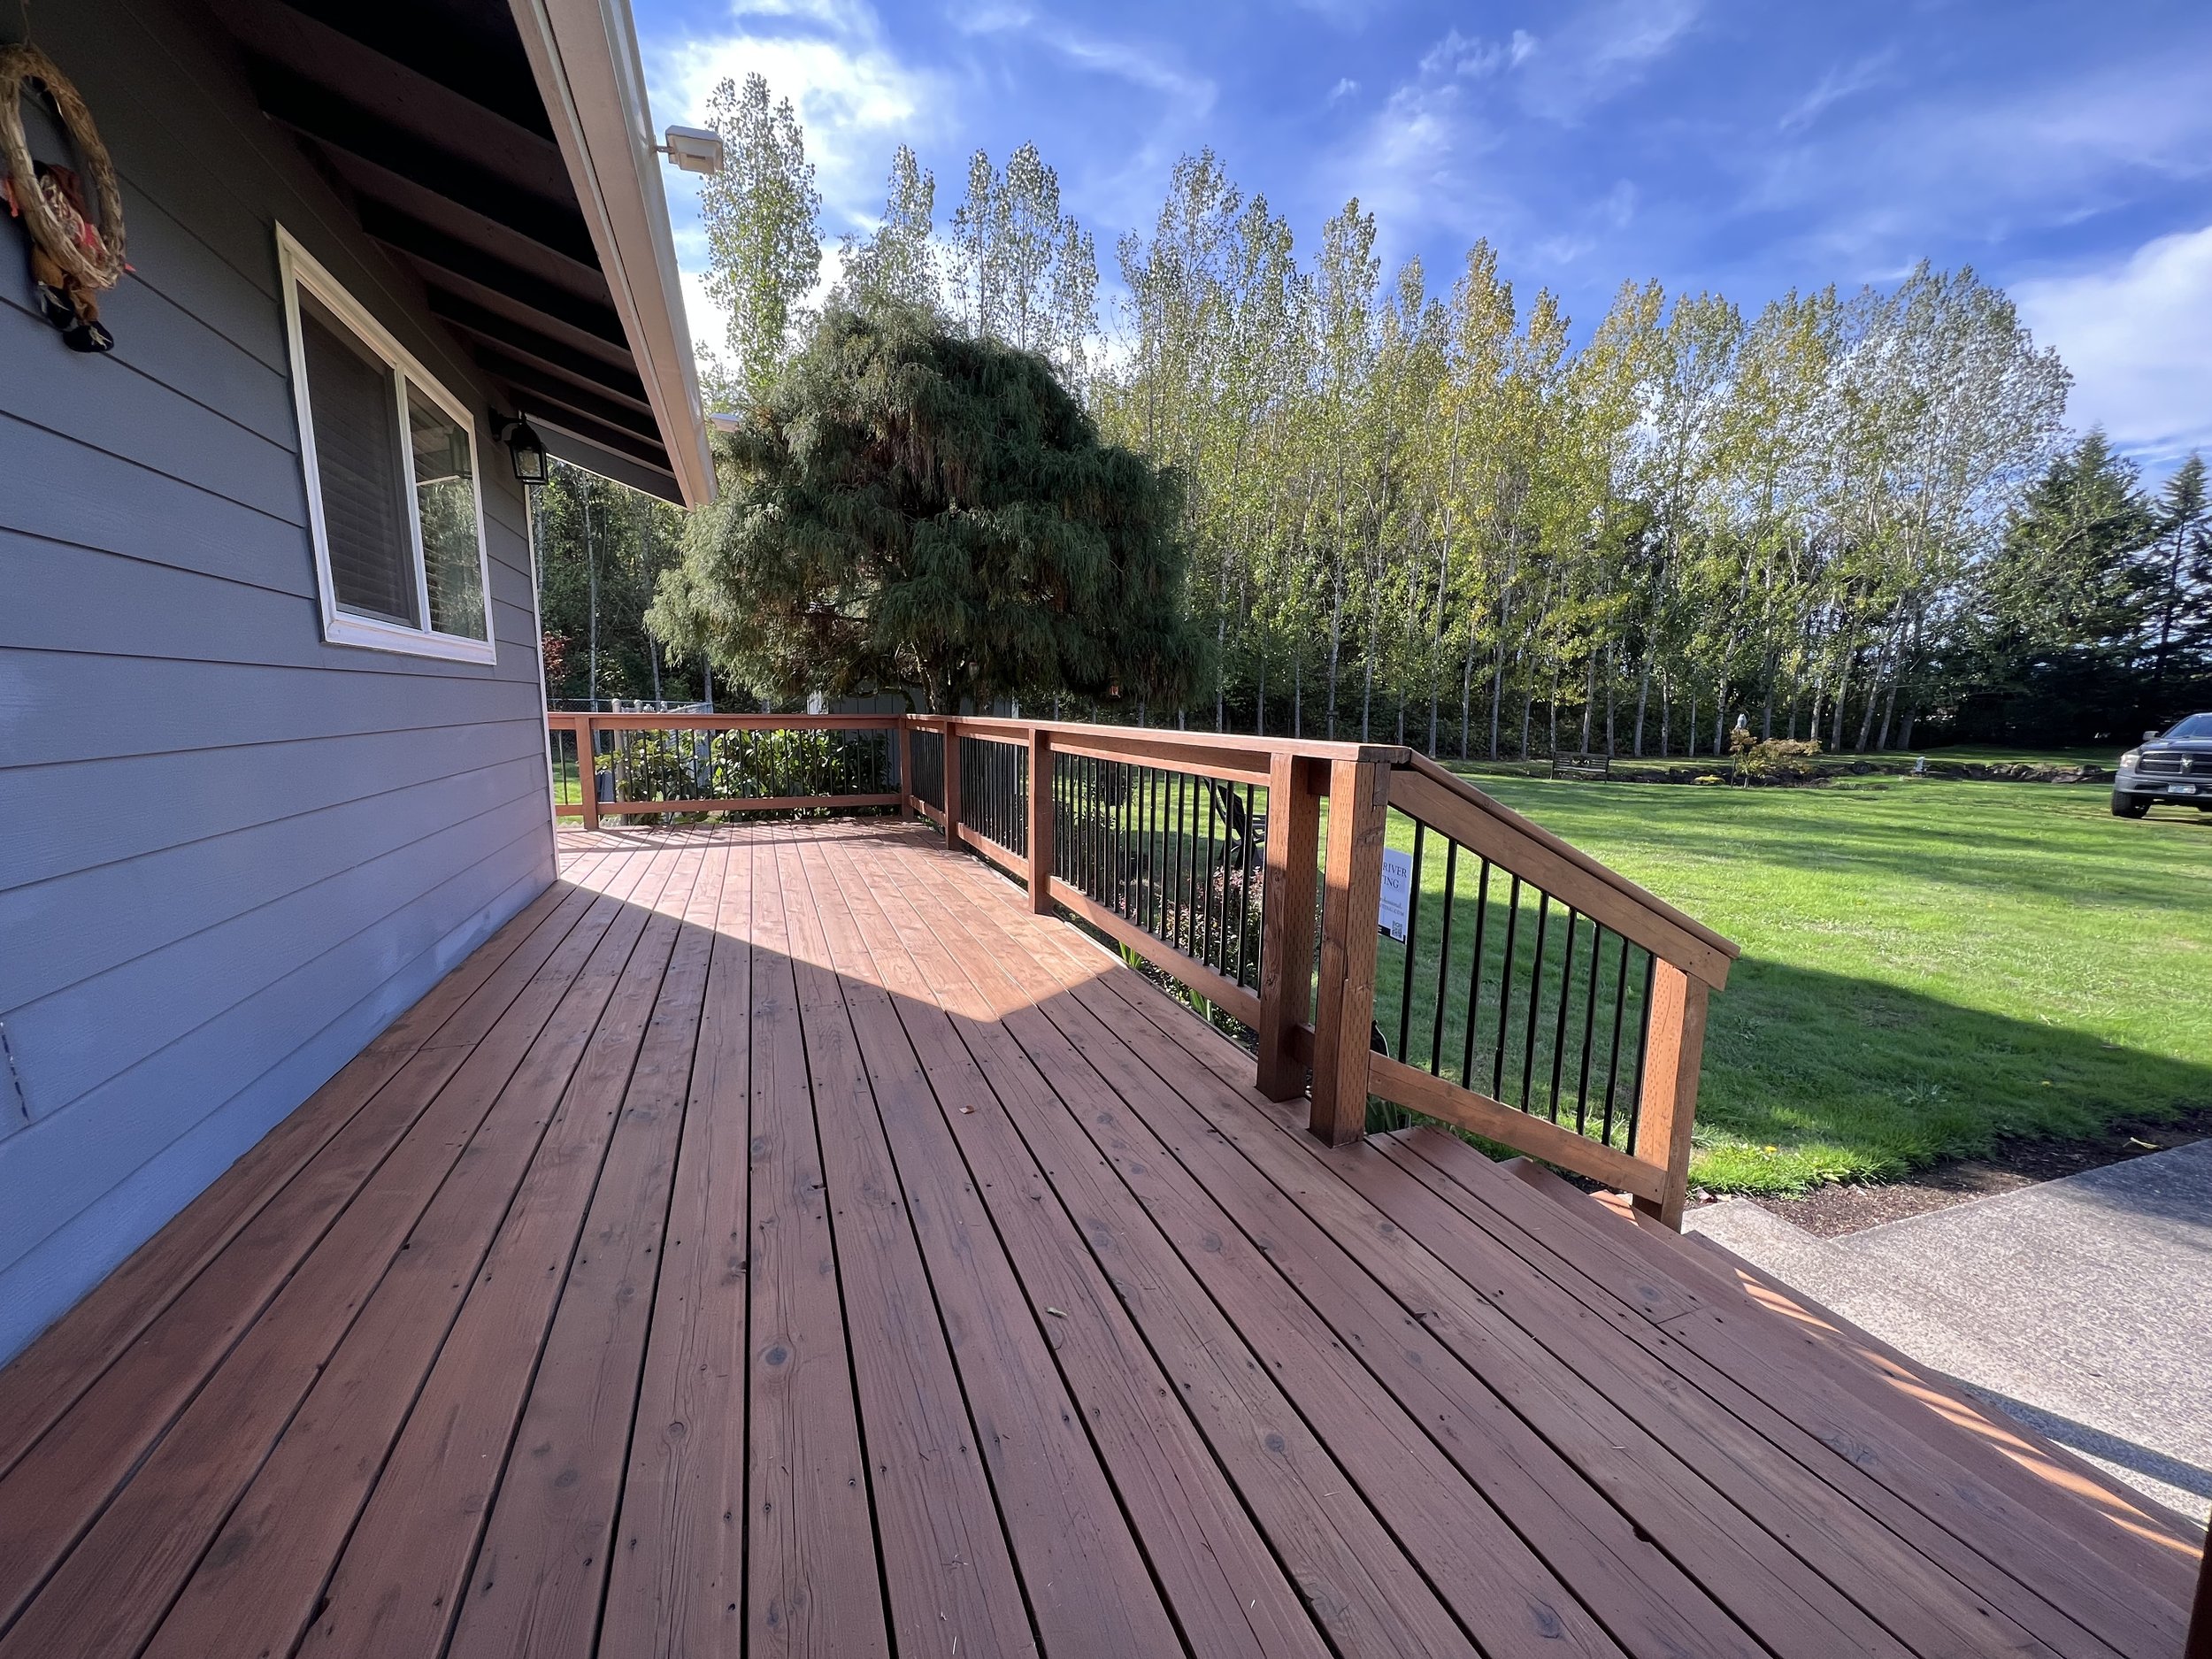
Transformative Fences: Tips for Achieving a Beautiful Stain Finish
Introduction:
Staining your fence isn't just about protection; it's an opportunity to enhance the natural beauty of the wood and add character to your outdoor space. In this blog post, we'll explore valuable tips to help you achieve a stunning and long-lasting stain finish for your fence.
1. **Choose the Right Stain:**
- **Consider Type and Color:** Select a stain that suits your wood type and desired color. Transparent stains showcase the wood's natural grain, while semi-transparent or solid stains add color with varying levels of opacity.
- **UV Protection:** Opt for a stain with UV protection to shield your fence from the sun's harmful rays and prevent premature fading.
2. **Prepare Your Fence:**
- **Clean Thoroughly:** Before staining, ensure your fence is clean and free of dirt, debris, and mildew. Use a pressure washer or a mixture of mild detergent and water to clean the surface.
- **Repair Damages:** Address any cracks, holes, or damaged areas. Proper preparation sets the stage for a smooth and even stain application.
3. **Test the Stain:**
- **Sample Application:** Test the stain on a small, inconspicuous area of your fence to ensure it achieves the desired color and appearance.
- **Observe Dry Time:** Allow the sample to dry completely, as the final color may differ from the wet appearance. This step helps you make any necessary adjustments before committing to the entire project.
4. **Weather Considerations:**
- **Ideal Conditions:** Choose a day with moderate temperatures and low humidity for staining. Avoid staining in direct sunlight, as this can lead to uneven drying and potential lap marks.
- **Check the Forecast:** Ensure no rain is expected for at least 24 to 48 hours after staining to allow for proper drying.
5. **Protect Surrounding Areas:**
- **Cover Plants and Grass:** Use drop cloths or plastic sheeting to protect nearby plants and grass from accidental overspray or drips.
- **Mask Hardware:** Remove or mask hardware such as handles or latches to avoid staining them.
6. **Appropriate Application Tools:**
- **Brush, Roller, or Sprayer:** Choose the application method that suits your fence type and personal preference. Brushes are ideal for intricate details, while rollers and sprayers provide faster coverage for larger surfaces.
- **Quality Tools:** Invest in high-quality brushes, rollers, or sprayers for a smoother and more even application.
7. **Consistent Application:**
- **Follow Wood Grain:** Apply the stain following the wood grain to enhance the natural appearance and ensure even coverage.
- **Avoid Overlapping:** Work in sections and maintain a wet edge to prevent lap marks. Avoid stopping in the middle of a section to maintain consistency.
8. **Multiple Coats for Depth:**
- **Consider Layering:** For a deeper color or increased protection, apply multiple coats of stain. Allow each coat to dry completely before applying the next.
- **Mind Drying Time:** Follow the manufacturer's recommendations for drying time between coats to achieve the best results.
9. **Finishing Touches:**
- **Protect End Grain:** Pay extra attention to the end grain of the wood, as it tends to absorb more stain. Apply additional coats to these areas for uniform color.
- **Add Sealant for Durability:** Consider applying a clear wood sealer or waterproofing product over the stain to enhance durability and prolong the life of your fence.
10. **Regular Maintenance:**
- **Inspect Periodically:** Regularly inspect your stained fence for signs of wear, mildew, or damage.
- **Touch Up as Needed:** Address any issues promptly with spot touch-ups or a new coat of stain to maintain the fence's appearance and protection.
Conclusion:
Staining your fence is a rewarding endeavor that enhances both its aesthetic appeal and durability. By following these tips, you'll embark on a staining journey that transforms your outdoor space, providing long-lasting protection and showcasing the natural beauty of your wood. Enjoy the process and the lasting impact of a beautifully stained fence.


