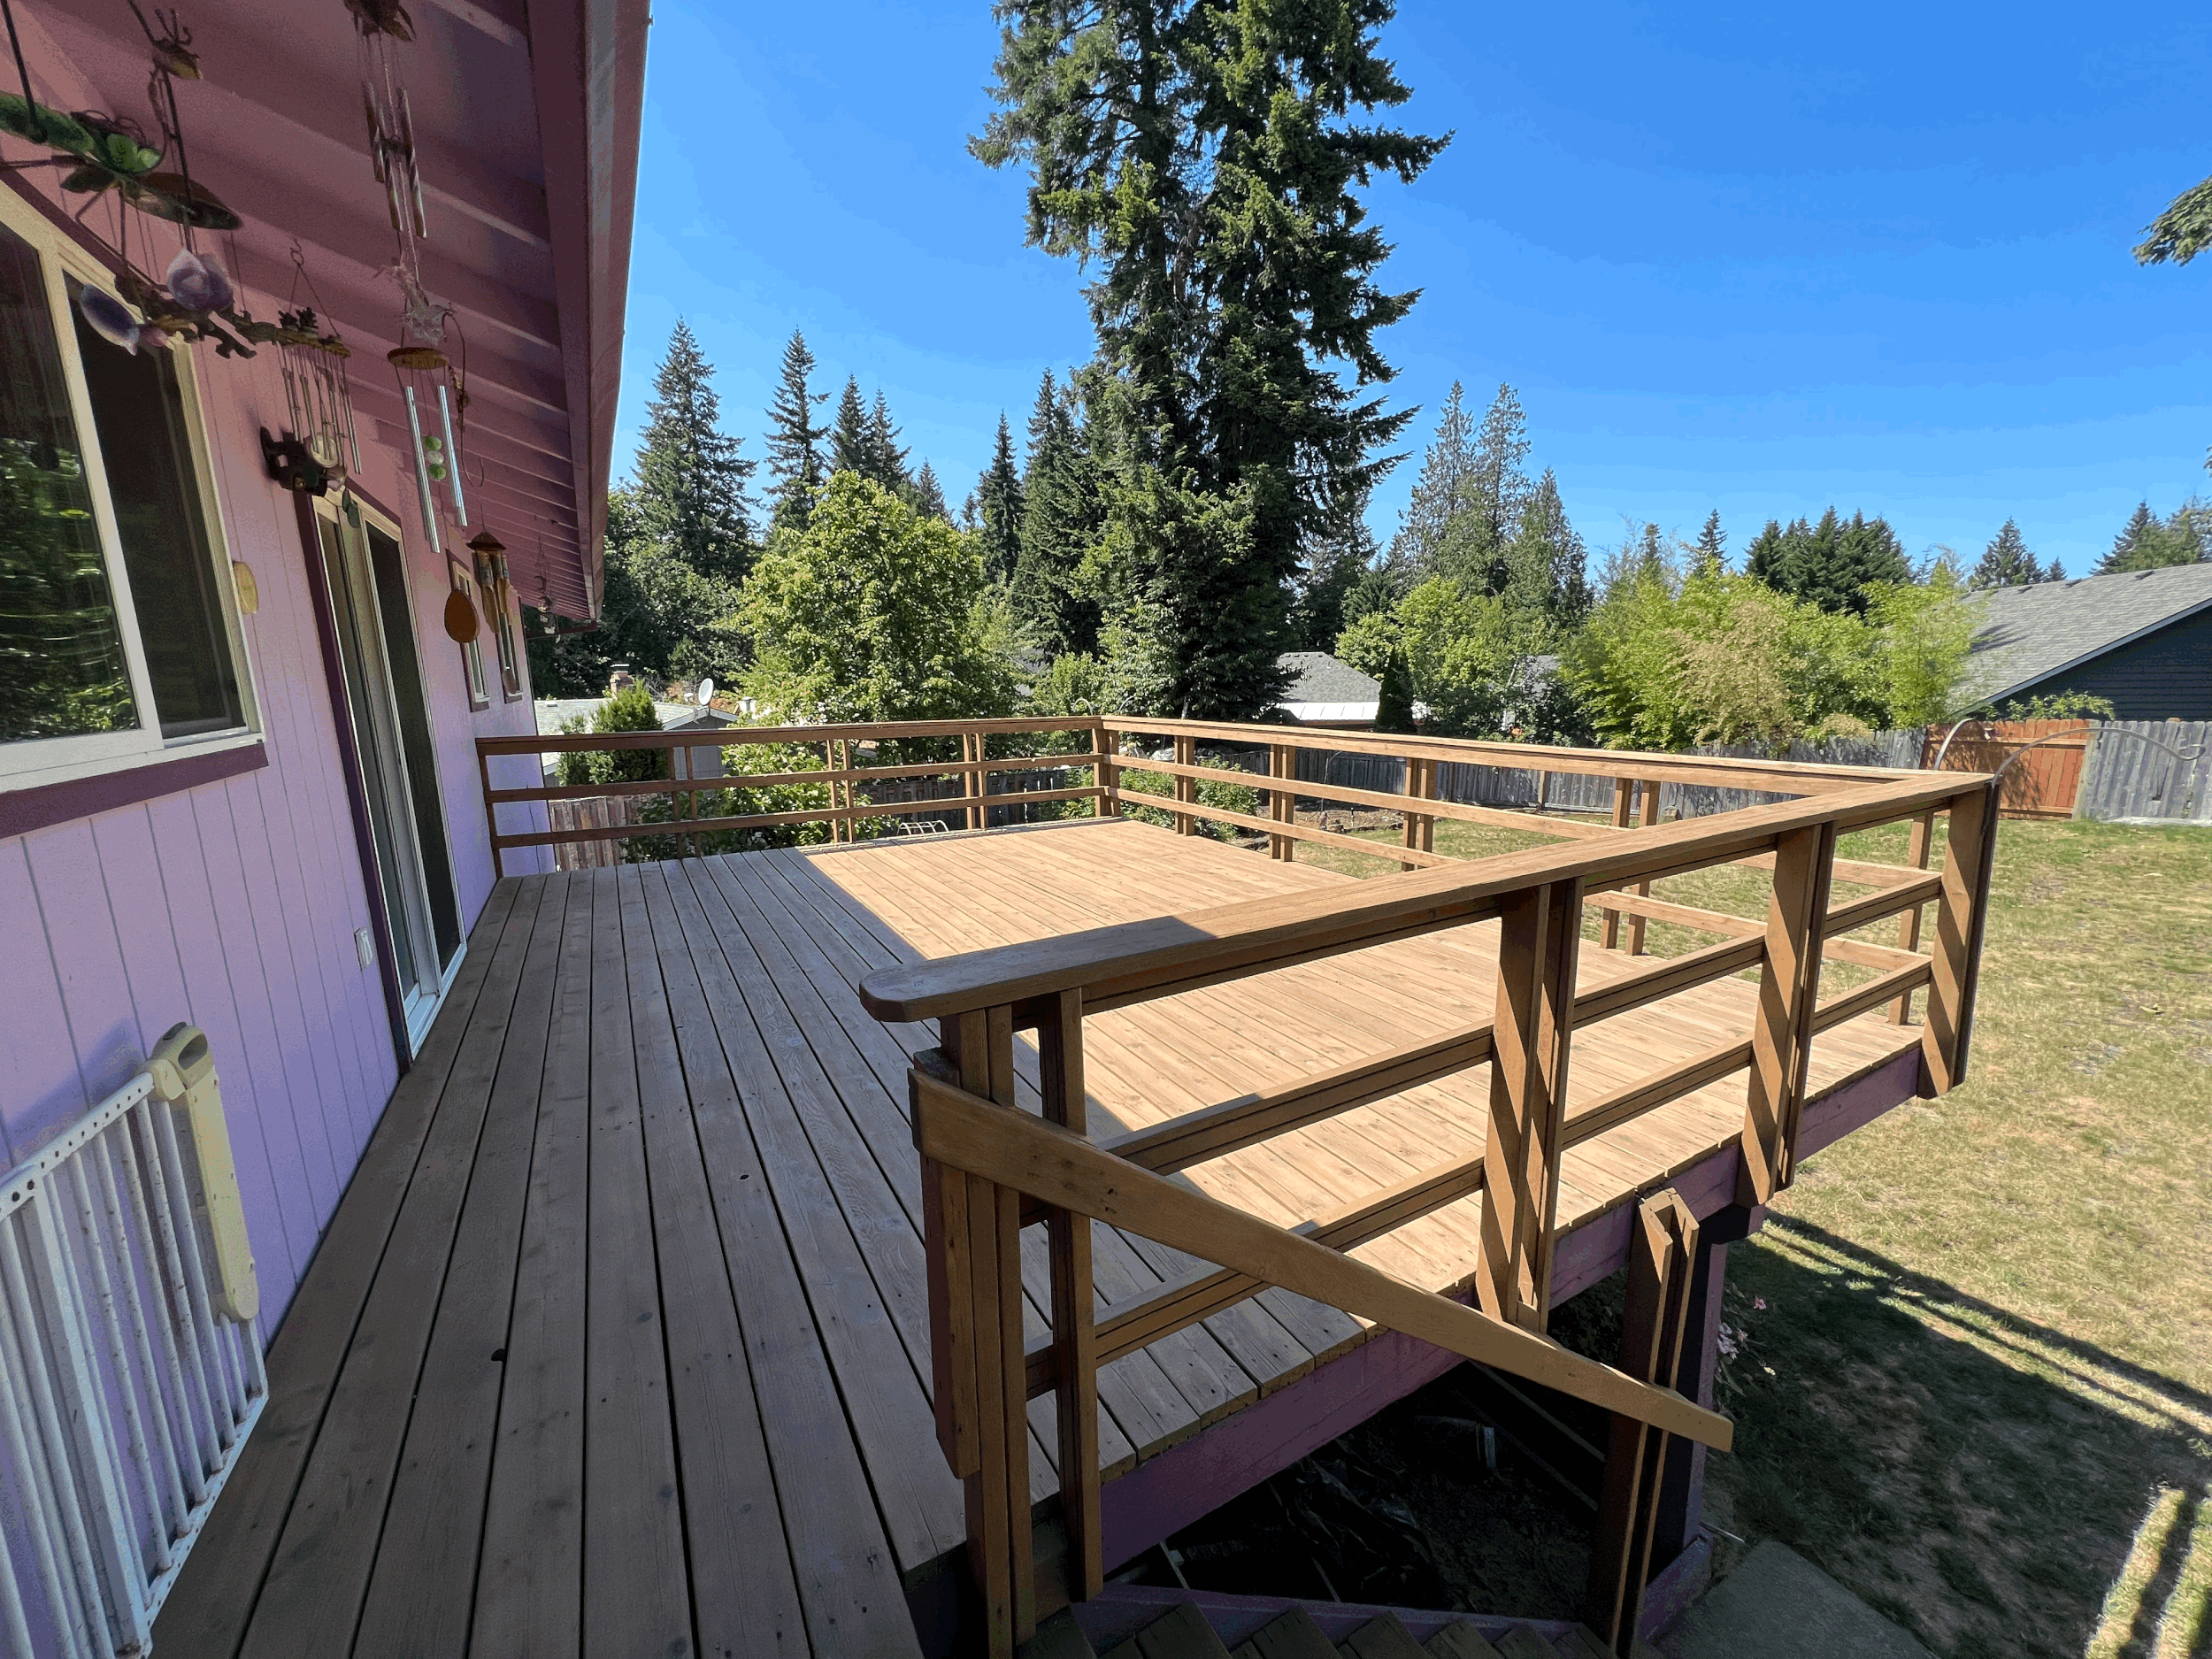
Restoring Your Deck
Deck Staining & Restoration
Is your fence or deck looking old and weathered? Can’t decided whether to fix or replace it?
Restoring your deck with a quality stain can and will add years to the service life of your deck!
This deck was in bad shape to begin with but with a combination of the right surface preparation, the right products and some good old fashioned elbow grease we were able to bring this old thing back to life.
We started off by masking everything off and applying a chemical stripper to remove all the old, flaky material. We then scrubbed and washed the deck off and let it dry thoroughly before moving to the next step.
It took almost an entire day of sanding to get everything dialed in to smooth out all of the raised fibers and restore the deck’s natural wood grain and color.
We then let it dry for another day before applying any new stain. It was going to be a hot, sunny afternoon the following day, which is not ideal conditions for applying stain as the sun can dry the fresh coating before it has a chance to really soak in to the wood fibers… so we made sure to get out there early to beat the sun and applied a fresh coat of Sherwin Williams Superdeck Semi-Transparent Stain and the end result speaks for itself!
Biggest Mistakes Homeowners Make Painting Their Own Cabinets
Painting Your Cabinets
Insufficient Surface Preparation
Painting kitchen cabinets can be an excellent way to refresh the look of your kitchen without a full-scale renovation. It’s a popular choice for homeowners who want to update their cabinets on a budget. However, while the task may seem straightforward, there are several common mistakes that homeowners often make when attempting to paint their own cabinets. In this article, we will explore the three biggest mistakes homeowners make when painting their own cabinets and provide valuable insights to help you avoid these pitfalls.
One of the most crucial steps in achieving a professional-looking paint finish on cabinets is thorough surface preparation. Many homeowners underestimate the importance of this step and end up with disappointing results. Failing to adequately clean, sand, and prime the cabinet surfaces can lead to paint adhesion problems and a less durable finish.
To avoid this mistake, start by cleaning the cabinets thoroughly using a grease-cutting cleaner to remove any dirt, grime, or kitchen residue. Next, sand the surfaces to create a smooth and paint-friendly base. Use a medium-grit sandpaper to scuff the existing finish, ensuring the primer and paint adhere properly. Lastly, apply a high-quality primer suitable for your cabinets’ material to enhance adhesion and provide a solid foundation for the paint.
Poor Paint Selection and Application
Choosing the right type of paint for cabinets is essential for achieving a long-lasting and professional finish. Many homeowners make the mistake of using the wrong paint, such as flat wall paint or low-quality options, which can lead to chipping, peeling, or a less-than-desirable appearance.
For painting cabinets, it is recommended to use a high-quality, durable paint specifically designed for this purpose, such as a semi-gloss or satin finish. These types of paint are easier to clean and more resistant to moisture, stains, and everyday wear and tear. Another common mistake is applying the paint incorrectly. Thin, even coats are crucial to achieving a smooth finish. Rushing the process and applying thick layers can result in drips, uneven surfaces, or extended drying times. Take your time, allow each coat to dry fully, and sand lightly between coats for optimal results.
Another common mistake is applying the paint incorrectly. Thin, even coats are crucial to achieving a smooth finish. Rushing the process and applying thick layers can result in drips, uneven surfaces, or extended drying times. Take your time, allow each coat to dry fully, and sand lightly between coats for optimal results.
Neglecting Proper Curing Time
After the paint has been applied and dried, homeowners often make the mistake of rushing to reassemble and use their cabinets too soon. Proper curing time is essential for the paint to fully harden and reach its maximum durability.
Failing to allow sufficient curing time can lead to nicks, scratches, and a compromised finish. Follow the paint manufacturer’s instructions regarding the recommended curing time, which typically ranges from a few days to a couple of weeks. During this period, avoid placing heavy objects on the newly painted surfaces or subjecting them to excessive humidity or temperature changes.
Summary
Painting your own cabinets can be a cost-effective way to transform the look of your kitchen. However, it is important to avoid the common mistakes that homeowners often make when undertaking this project. Remember to thoroughly prepare the surfaces, select high-quality paint suitable for cabinets, apply it correctly, and allow adequate curing time for the best results.
By avoiding these three biggest mistakes – insufficient surface preparation, poor paint selection and application, and neglecting proper curing time – you can achieve a professional-looking finish that enhances the aesthetic appeal of your kitchen while ensuring the longevity of your painted cabinets. With patience and attention to detail, you can successfully tackle this DIY project and enjoy the satisfaction of a beautifully painted kitchen for years to come.


